So as promised, I’ve just finished my first attempt at recreating a make-up tutorial I found on Pinterest. I wanted to do this because there are so many tutorials out there and a lot of the vidoes/blog/photos assume that we know all the terms and have all the right brushes and kit etc. I find that I use a lot of baby wipes/make-up remover when I’m trying a new look as it always goes a bit awry, but no one really shows that part or the hours of practice it takes. So if you’re not very confident at putting on make-up or it never really looks like it should, don’t worry, you are not alone 🙂
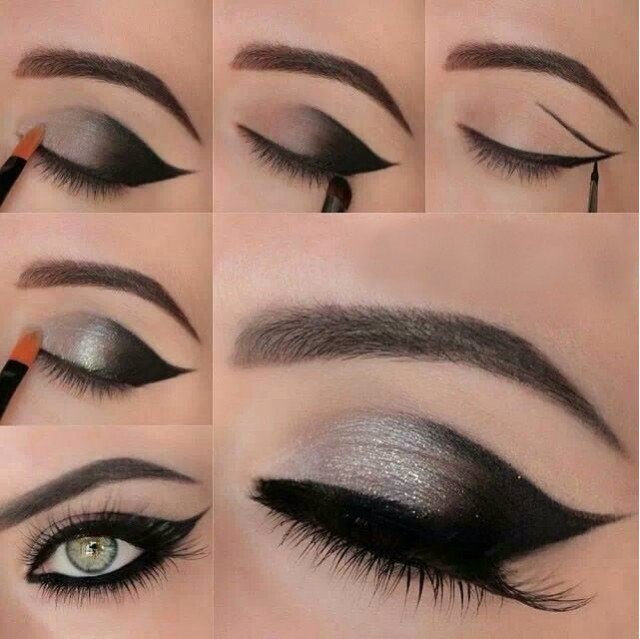
This is the make-up look I wanted to try and recreate. The photos aren’t in the right order, but you can get a general sense of how they created this look. It looks fairly simple so guaranteed it’s going to be anything but!
For this look, I’m using:
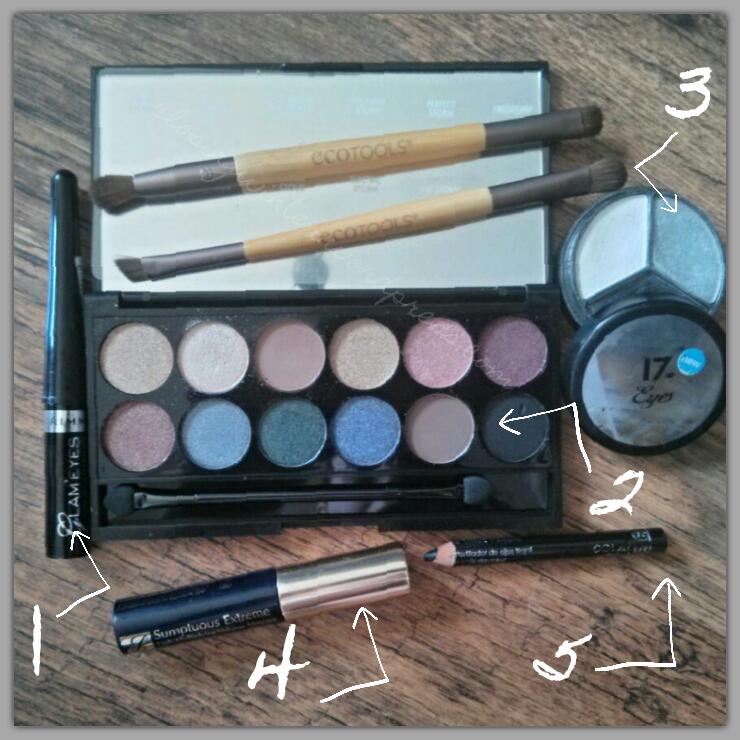
- Rimmel Glam’eyes liquid eyeliner in Black Glamour for the upper lash line.
- Sleek Storm palette, the Blackout shade for the outer corners.
- 17 Smoky Quartz Trio, the grey shade for the middle of the eyelids.
- Estée Lauder Sumptuous Extreme mascara.
- Rimmel Soft Kohl pencil eyeliner in Jet Black for the lower lash line.
Here goes….
Stage one: or how many baby wipes will I get through trying to draw this sodding line?

Turns out I’m not very good at drawing lines at all :/ The first one was in completely the wrong place and the second I was a bit overzealous with the line! I decided to stick with attempt three as otherwise I’d never get on and do the rest of the look.
Stage two: Adding the black eyeshadow
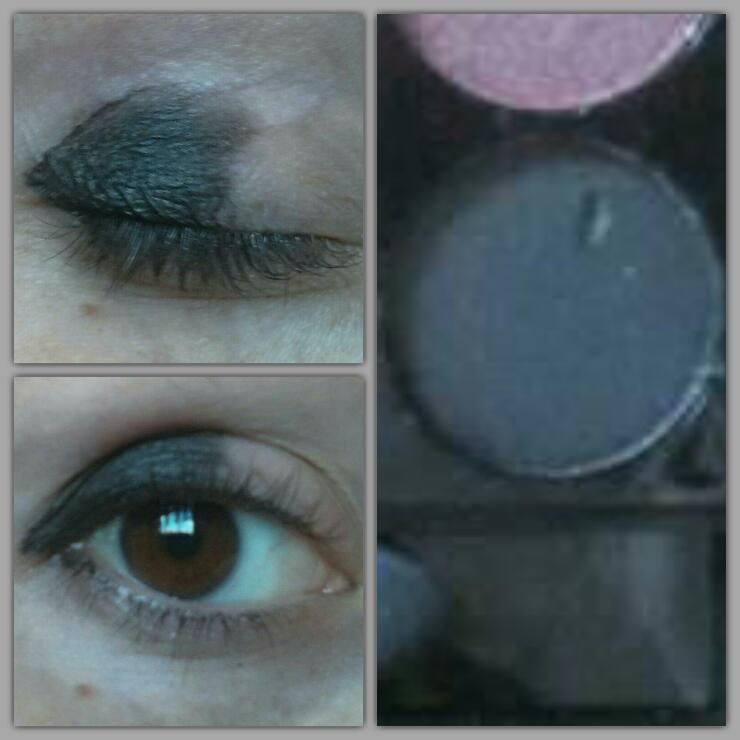
So I added the black with a smudge brush, then when I opened my eyes, I realised I had no flick at all at the ends, so I had to add it in afterwards! It looks much better with open eyes, when my eyes are closed, you can see big gaps! It also doesn’t help that I have quite wrinkly eyelids and deep set eyes (thanks family genetics! Also please excuse my eyebrows, it was the fashion in the 90s to over-pluck and mine never grew back!).
Stage three: Adding the silver/grey eyeshadow
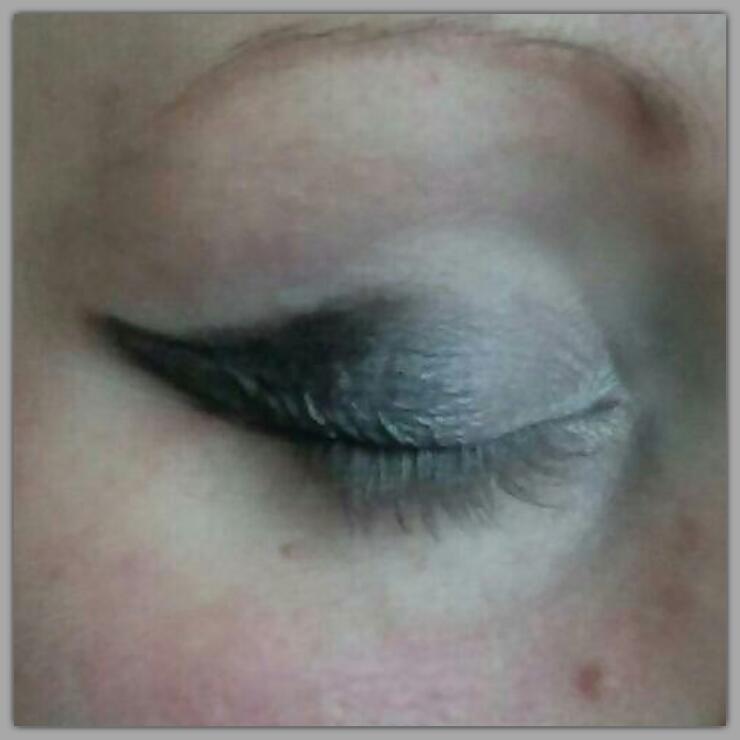
The look is starting to take shape, it doesn’t look too bad, despite it not really looking much like the actual look at all 🙁
Stage four: Adding the eyeliner and mascara
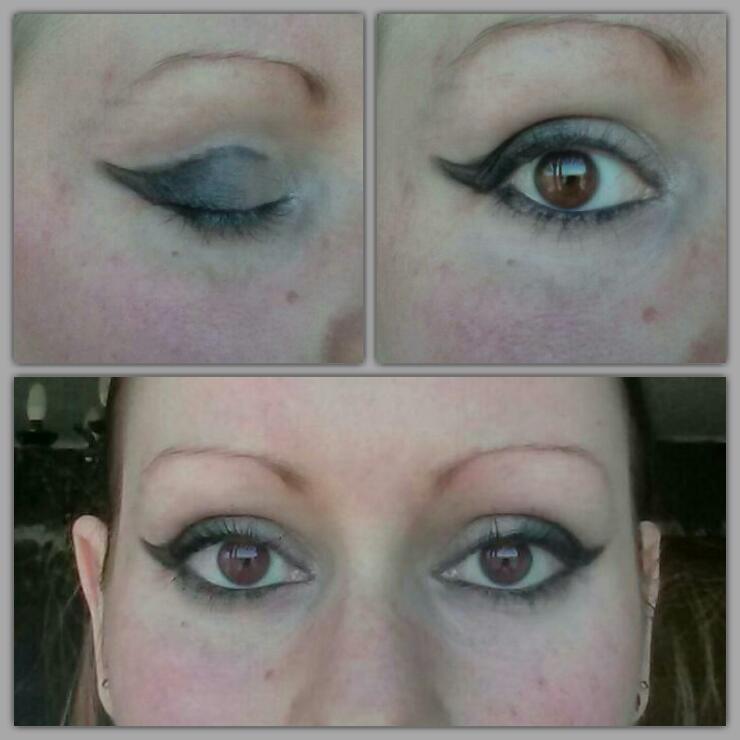
I added a bit of Kohl along my crease as well, just to give the black a bit more definition. It definitely looks nothing like the original photo, I feel I needed to put more eyeliner on the top and bottom to build it up more, but other than that, I quite like it. I’d probably attempt this again as a going out look. I definitely need to practice my flicks and liquid eyeliner technique.
If any of you want to try and copy this look, leave your links in the comments section so I can see how you achieved the look:) I’d love to see all your pics and maybe even get your tips on what I can do to improve 🙂 x

3 Comments
IPlease could you check out my blog and have the chance to be my blogger of the week xx Please could u check out my blog xx https://srtbeauty.wordpress.com
Love the blog, will definitely be following 🙂 Thanks for liking my smoky eye look x