Last week I wrote a post about staying safe while doing DIY round the house (you can read it here if you missed it), this week I wanted to chat about some really easy DIY projects you can do round the home.
At the moment we have several issues with trying to make our house look homely (in my eyes anyway):
- We don’t want to drill any holes in the walls to put up picture frames or shelves until we’ve decorated.
- As we don’t have any shelves up yet, we have very limited space to put up any pictures and other bits we’ve accumulated.
- Oh and the other problem is Bear. What little space we do have to put out little personal touches, he generally tends to climb on them and knock things over. Quite accidentally though. He’s a clumsy little cat, not very good with his paws.
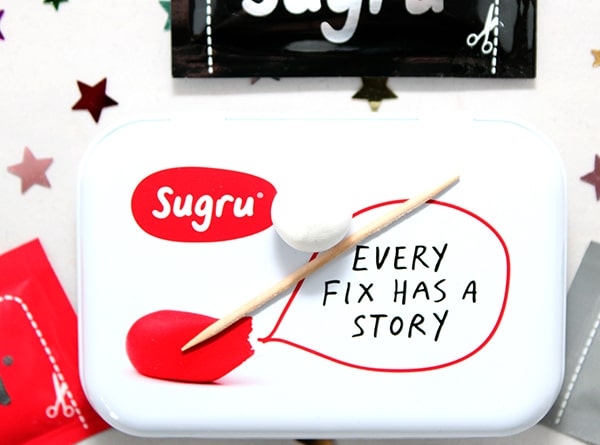
So we’ve had to get inventive and I’ve been using Sugru* to help me.
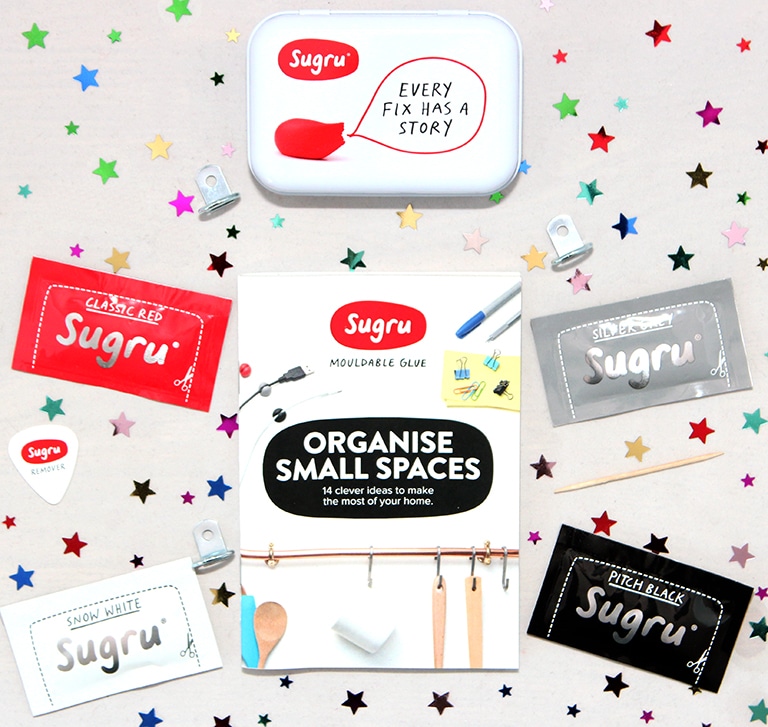
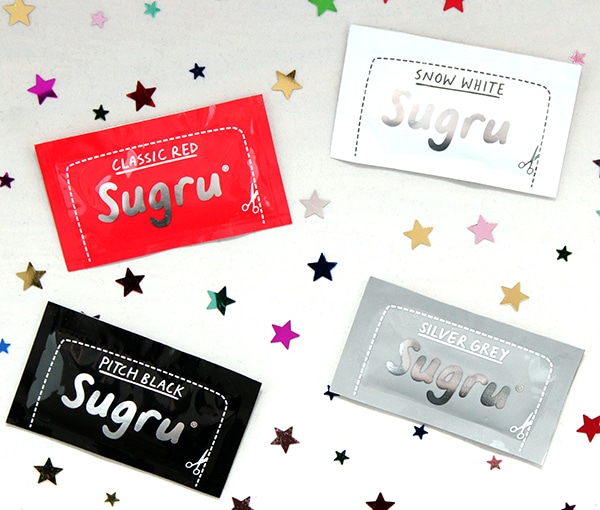
It’s a mouldable glue that can stick to any solid surface and completely hardens overnight. I got the Organise Small Spaces kit for £9 which came with 4 different colours; Pitch Black, Snow White, Silver Grey and Classic Red.
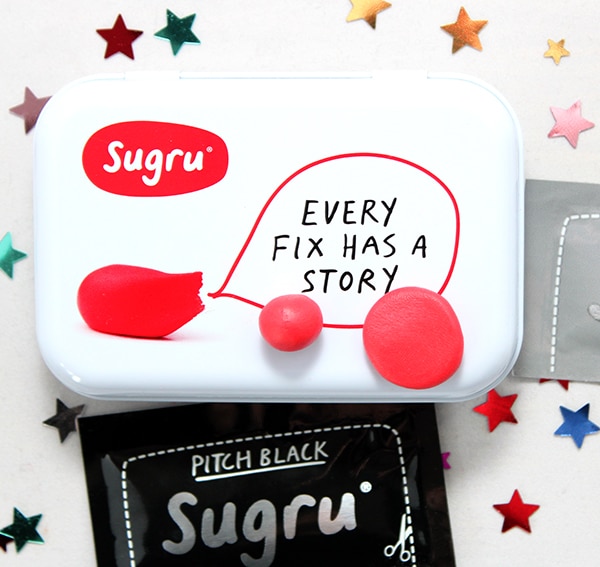
The kit also included loads of hints and ideas for projects, three picture hooks, a handy tooth pick for moulding, a Sugru remover device (which looked suspiciously like a guitar plectrum!) and a little storage tin to keep everything in!

There are loads of other kits available with a variety of different colours (including; green, blue, orange, yellow and more!) and different ideas to help you organise your spaces more efficiently or to help fix broken things round the house 🙂
Their ideas for saving space range from making hooks to hang pictures up or displaying your jewellery on the wall, hanging up saucepans lids on the inside of cupboard doors, or even making cable tidies to keep all your cables neatly out of the way.
I decided to make a little hook to hang up a print (that I got about 2 and a half years ago) in our lounge. It was so easy to make as there were step by step instructions in the booklet.
I just took half a packet of Sugru (in red so it would actually show up on the wall when I photographed it), rolled one third into a ball and pressed it really firmly onto the wall and made a cone shape. Once I’d done that, I worked the rest of it into a ball and flattened it out into a disc shape. I then firmly pressed the disc onto the cone, making sure there was space between the disc and the wall so the picture would actually hang up!
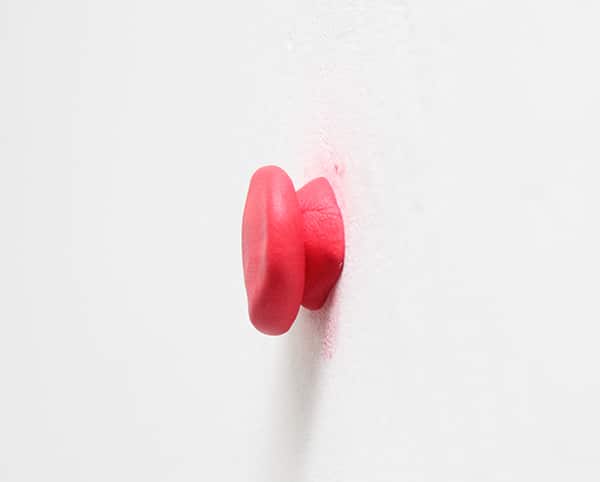
I then had to leave it to set for 24 hours before I could hang the photo frame on it. How cool is that? No drills, no mistakes, no stress! Well, it should have been that simple but it turned out not to be. J got home and wondered what was on the wall and instead of asking me, he touched it, which caused the disc part to fall off!! Then I couldn’t find my little Sugru tin because I’d tidied up, so I wasn’t able to re-try the button hook 🙁
Although I tried re-using the Sugru I’d already made the hook with, it had already started drying as it had been on the wall for about 7 hours by that point, so when I tried to re-mould it, it was too hard 🙁
I also decided to try out their idea of having a cable tidy as my phone charger is ALWAYS trailing on the floor in the bedroom. (Spoiler alert: this project went really well!!) I opted for using the white Sugru as my bedside table is white and didn’t want it to stain if I ever took it off again! Again, I took half a packet of Sugru and rolled it into a ball.
I then stuck this to the side of my table and made another cone shape.

Once I was happy with this, I pressed the cocktail stick into the middle and started to slowly rotate it until I’d made a pincer shape. I then carefully closed the pincer up a little so the cable wouldn’t fall out and again, left it to dry for 24 hours.
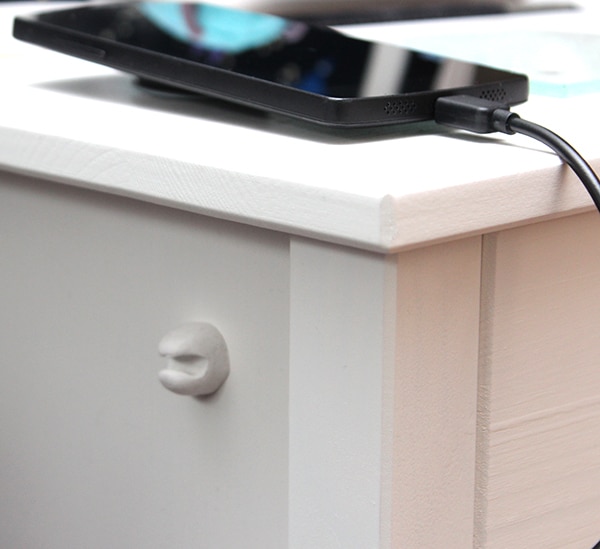
Now I can keep my cable neatly out of the way 🙂 and I no longer trip over it when I get into bed. Seriously, it’s that long that even if I put it round the back of the bedside table, it always uncurls itself and tries to trip me up!!

They also have the cute idea of using Lego characters as their hands are often the right size to hold cables in. For that, you just make a small ball of Sugru, press it firmly onto the back of a Lego character and press that onto your surface. Simple!!
There are so many fab ideas on the website and in the booklets; you can even use Sugru for mending phone cables and headphones! It’s also really easy to remove if you decide you want it elsewhere as the pack comes with its own removing device, although the instructions do say that there may be some colour residue left on wood and paint when removing (as you can see on the button hook pic, some of the red has transferred onto the paint, but it came off easily with a quick wash down), but as it comes in so many amazing colours, I’m sure you can find something to easily match your paintwork!
Have you ever used Sugru before? If not, does it look like something you’d want to use round your house? Let me know in the comments below 🙂 x
*PR sample but views, creativity and DIY skills are all my own.


4 Comments
Oh my word, these are such handy little things which I’ve never heard of! I have a few prints and quite a lot of trinkets that really need a home, I’m useless with a drill, so this would be the perfect solution!
Sharon x
rosieloveslife.co.uk
Ahaha yeah, if you’re not great with power tools this is definitely a great solution xx
I love the idea of the cable tidy! These are great, esp for those that rent!
Corinne x
Ah yeah, definitely a great idea for renters who aren’t allowed to drill holes 🙂 x